
Well, here it is – my second furniture refinishing project.
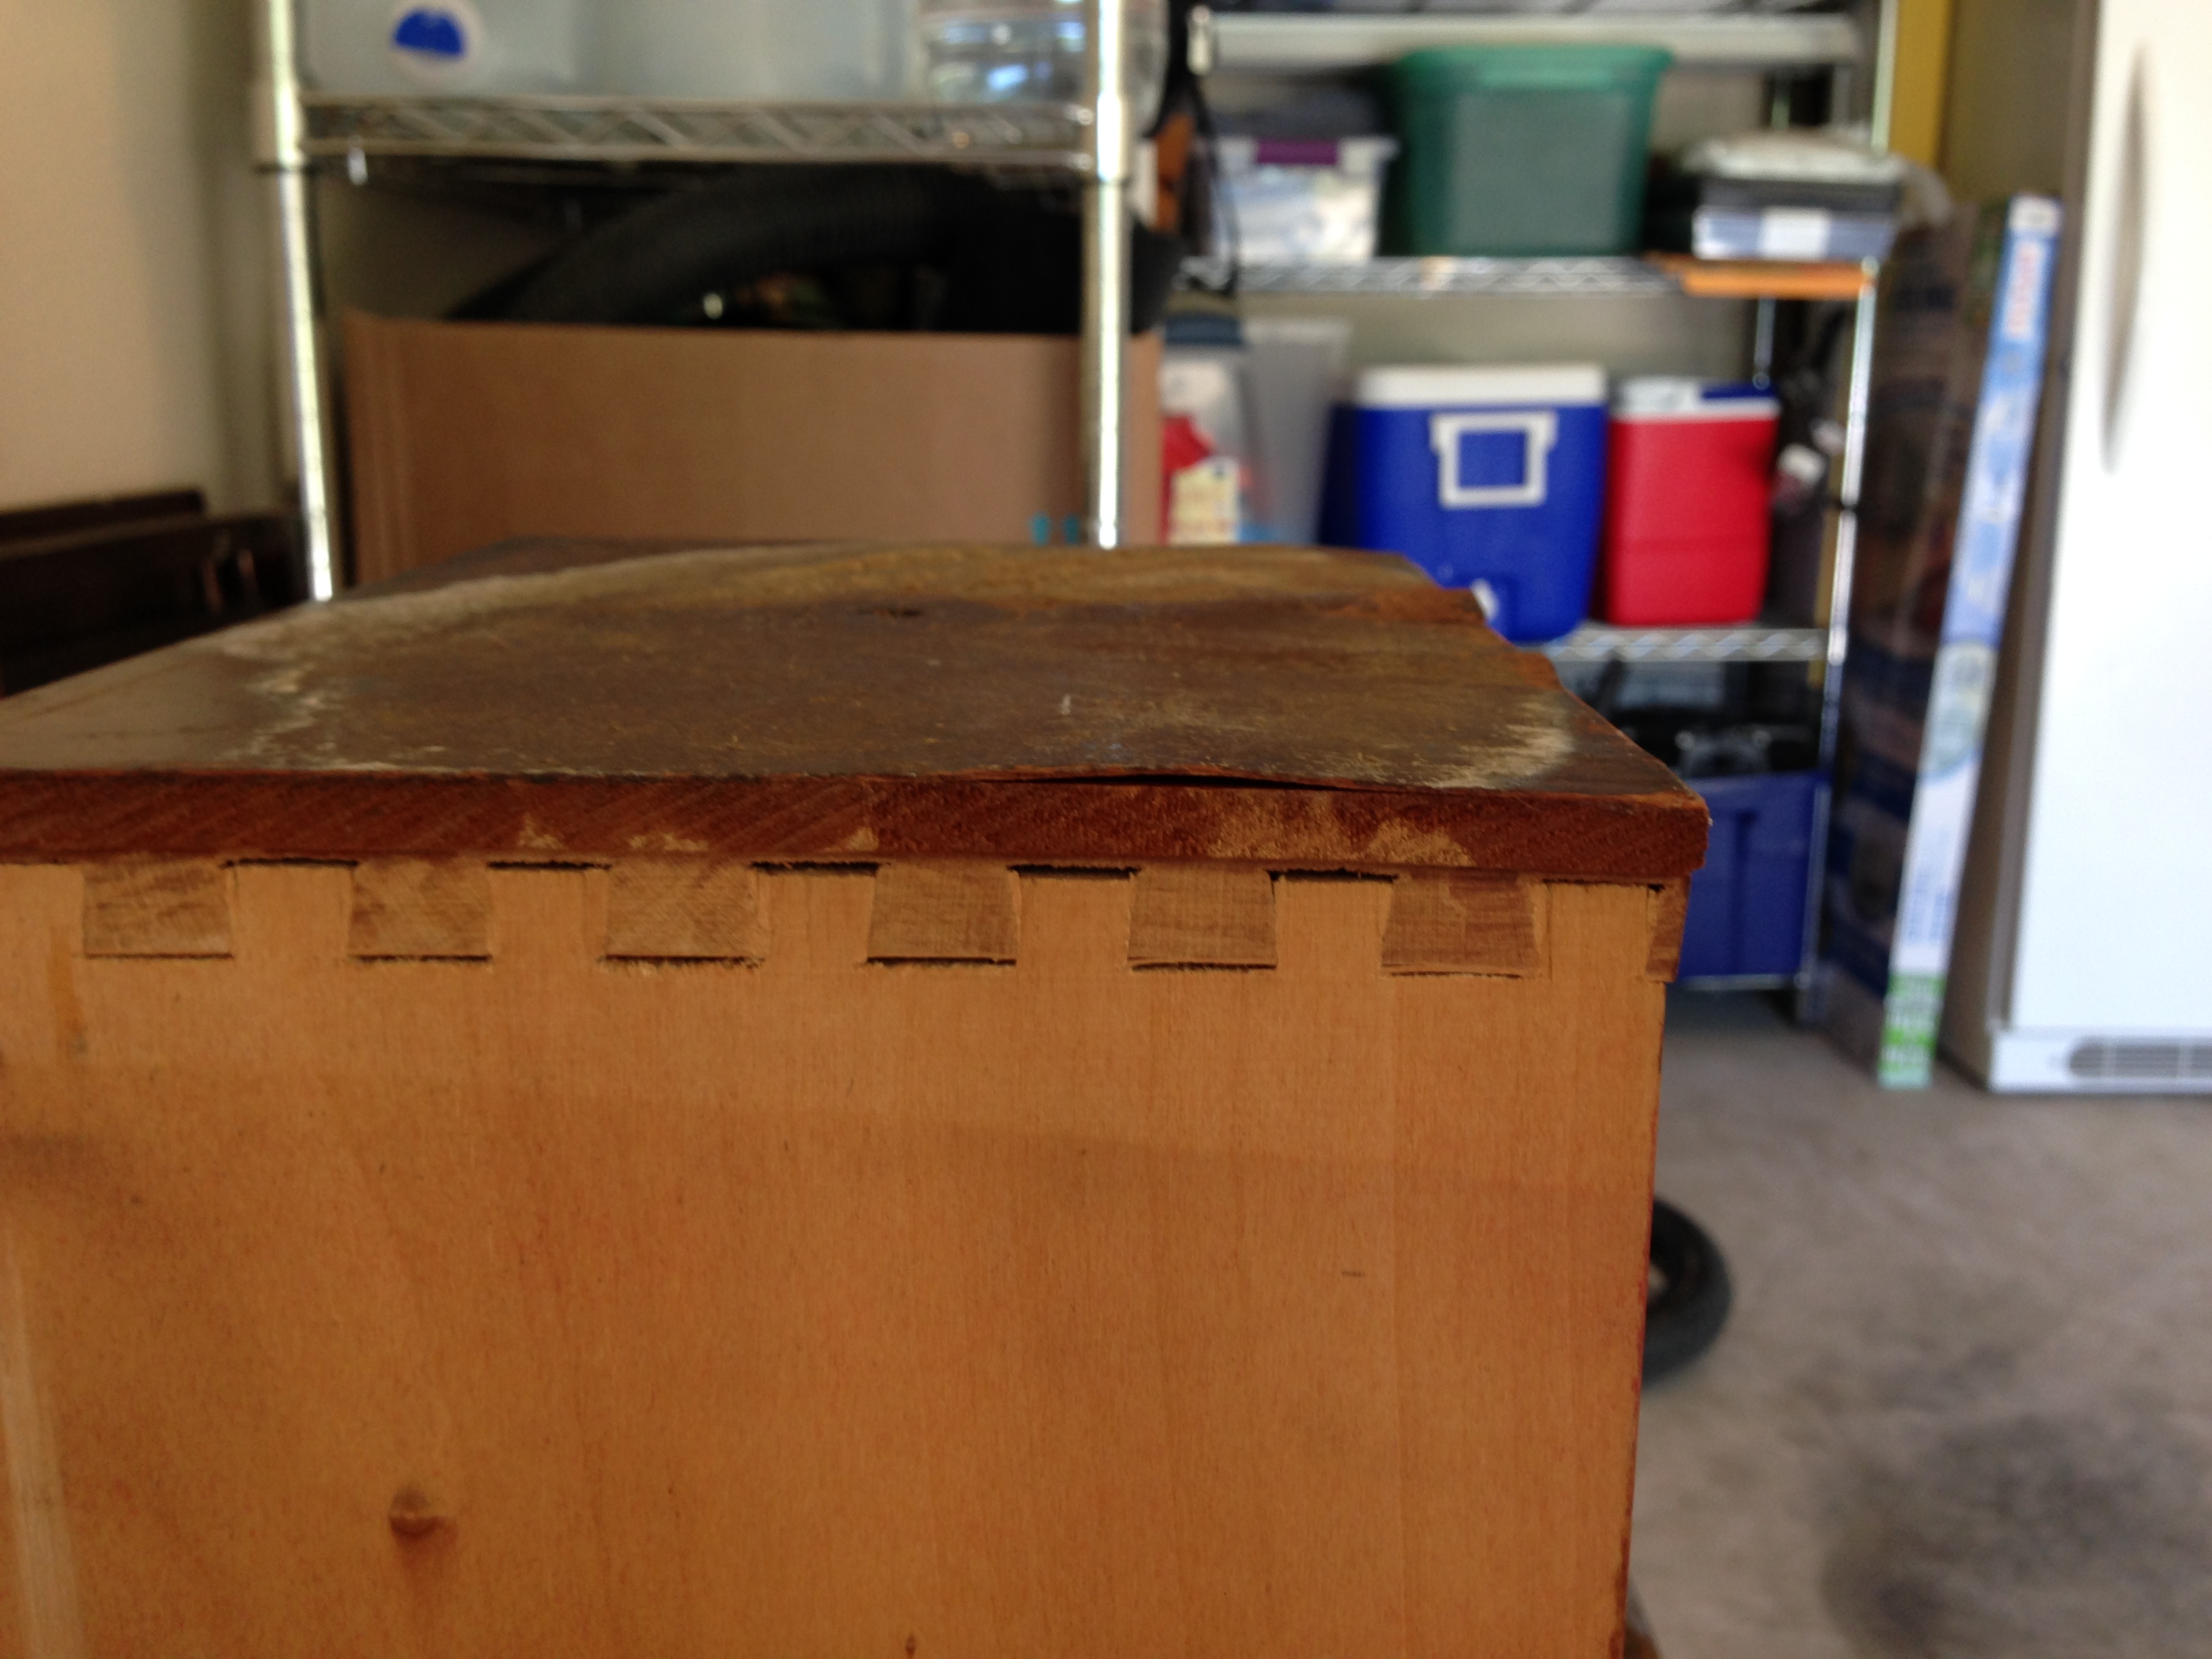
While I thought I was buying a vanity that qualified as an antique, according to sources from The Oracle, it would have to be over 100 years old, and antique dealers would say 150 years old. More research reveals that if it has machine made dovetails in the drawers, it was made some time after 1860, when that machine was invented (if i’m remembering correctly). I haven’t found any distinguishing marks on the vanity, and searches of antique sites didn’t reveal anything either, so for now I’ll assume that it’s vintage and move on.
My intent was always to paint thing thing – but I have to admin to feeling some misgivings about painting something that might be considered an antique. I’m not sure where the reluctance comes from, but it has been slowly seeping away the more I work with this piece. Firstly – the vanity is not in great condition. While the wood is structurally sound, the mirror is scratched, the veneer is peeling, it’s missing a castor, and it has suffered some sort of wax dripping torture. And secondly, it’s a deep dark brown, I didn’t want to retain it the same color (BORING) or sand it down and do it a lighter color (BACKBREAKING). But that reluctance to potentially butcher a beloved (and potentially valuable, how would I know?) antique, drove me to address the bubbling veneer issue before I pulled out the paintbrush.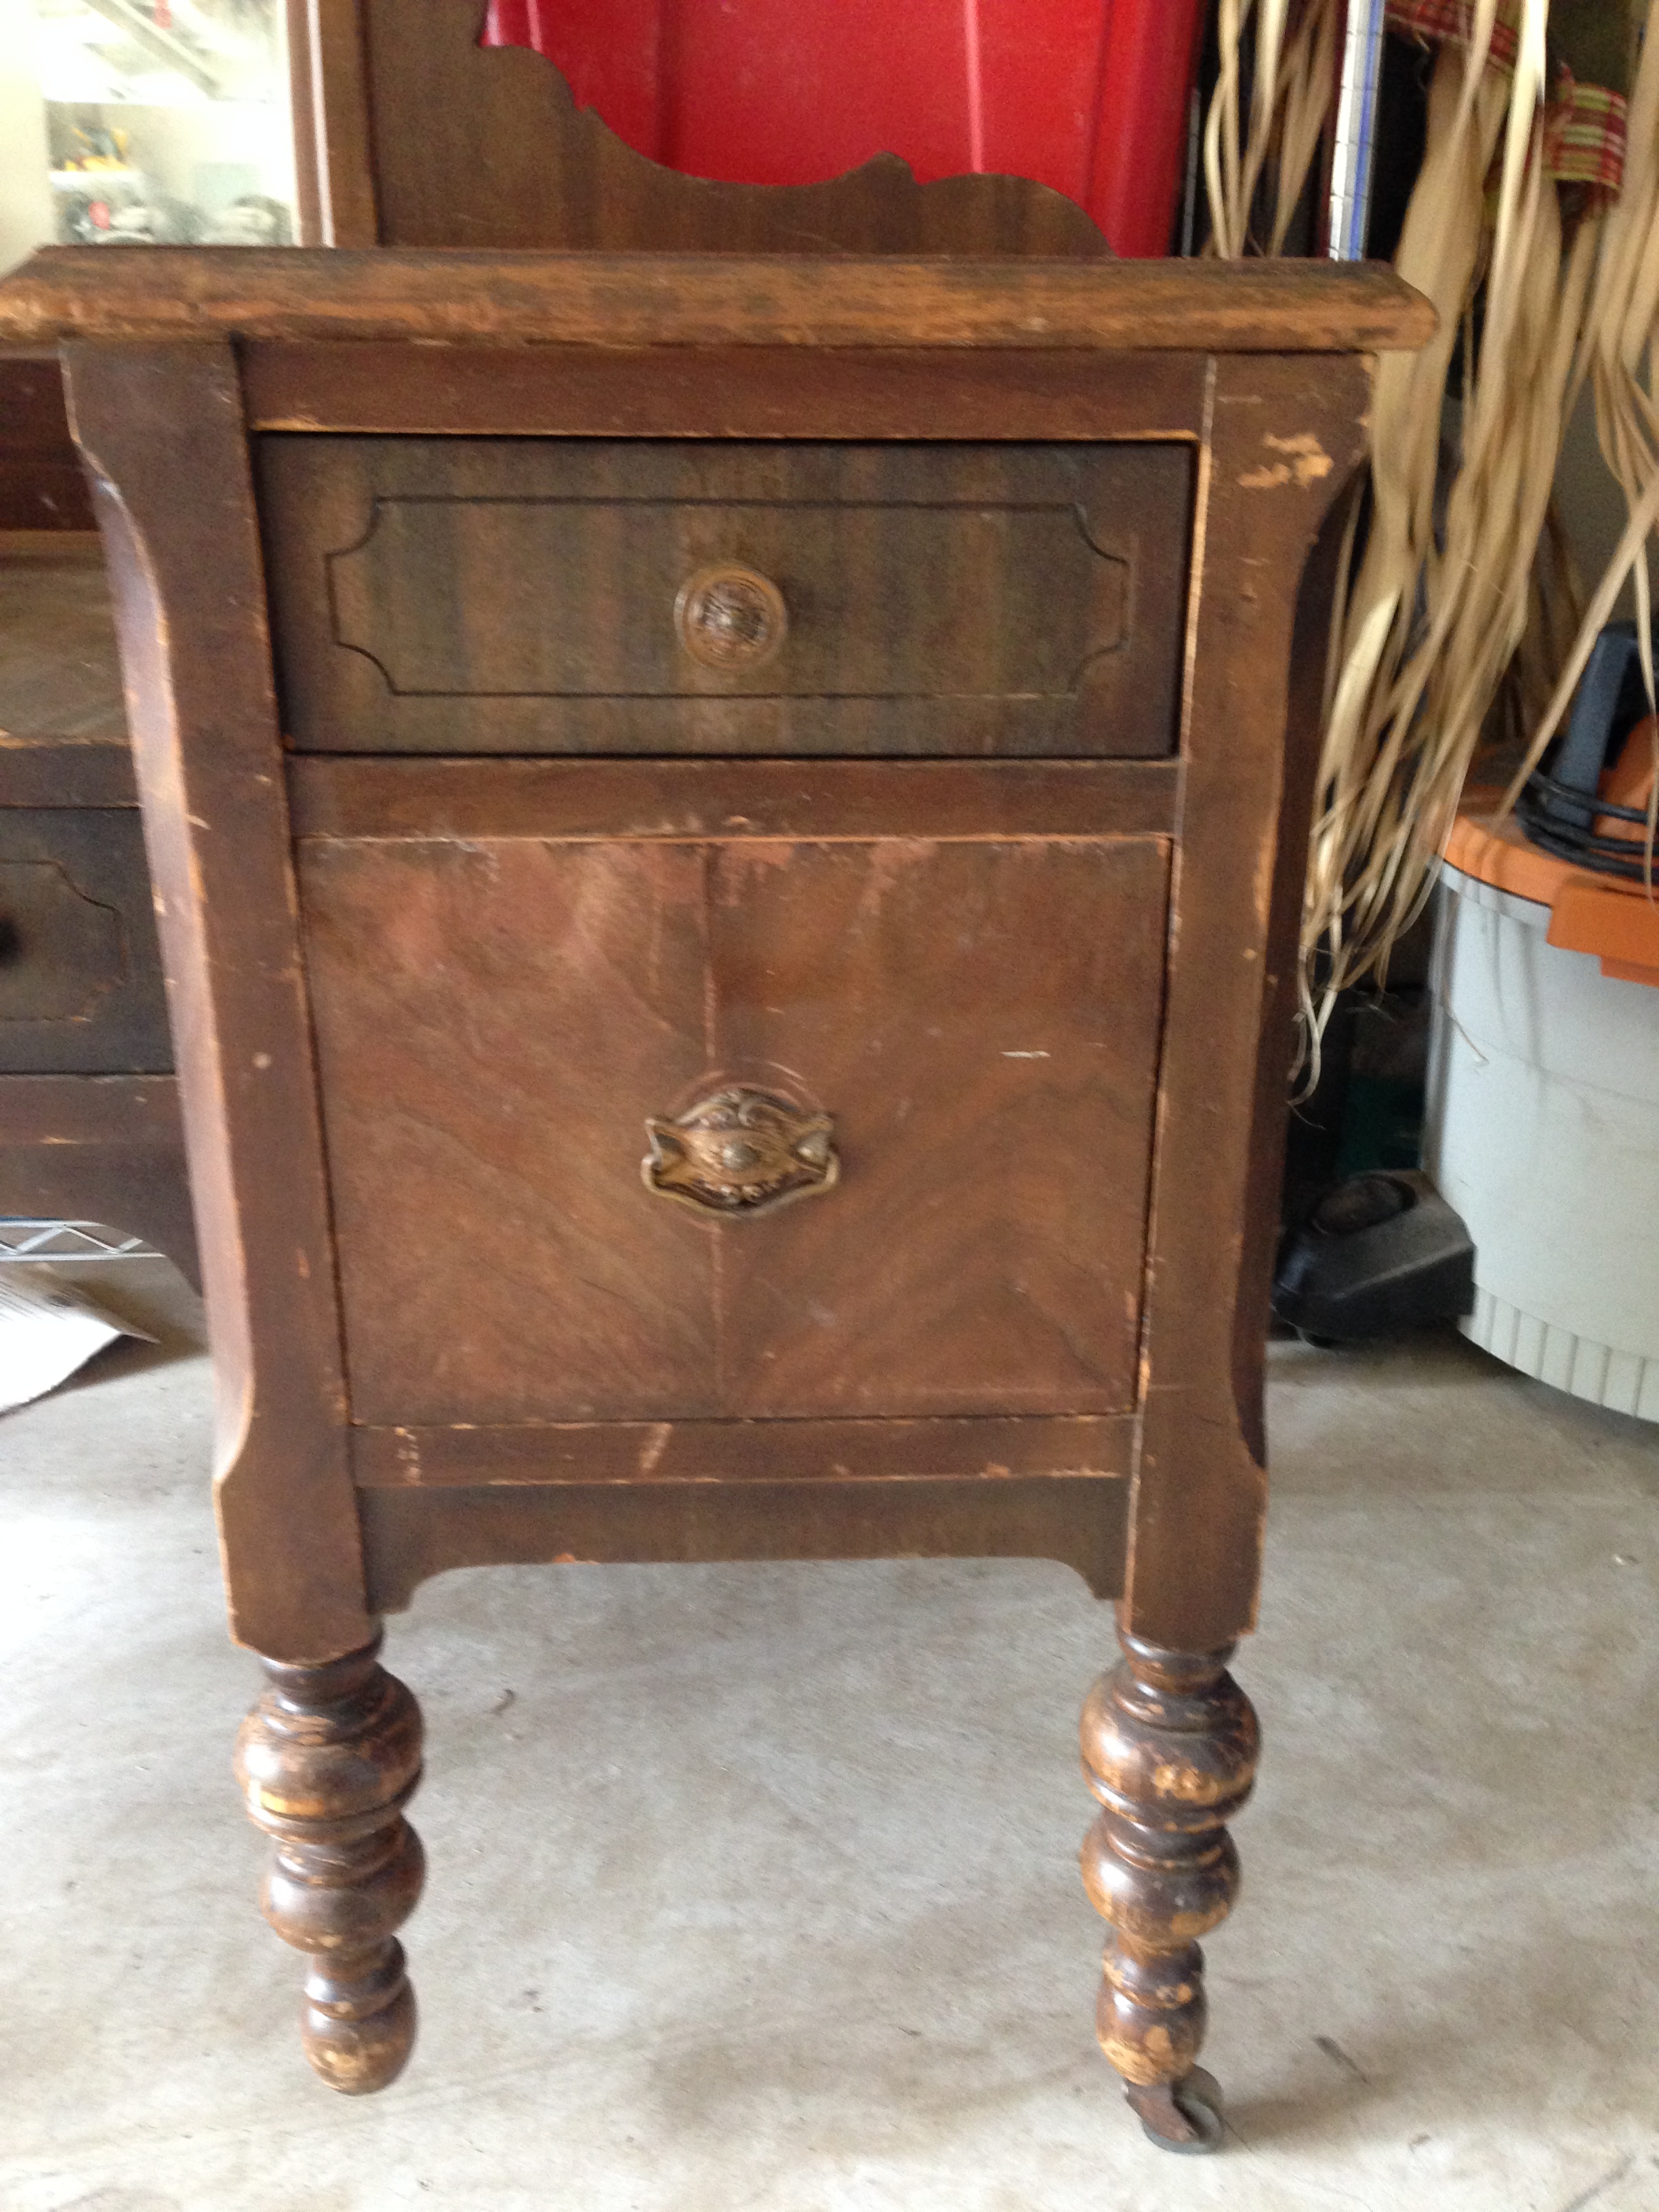
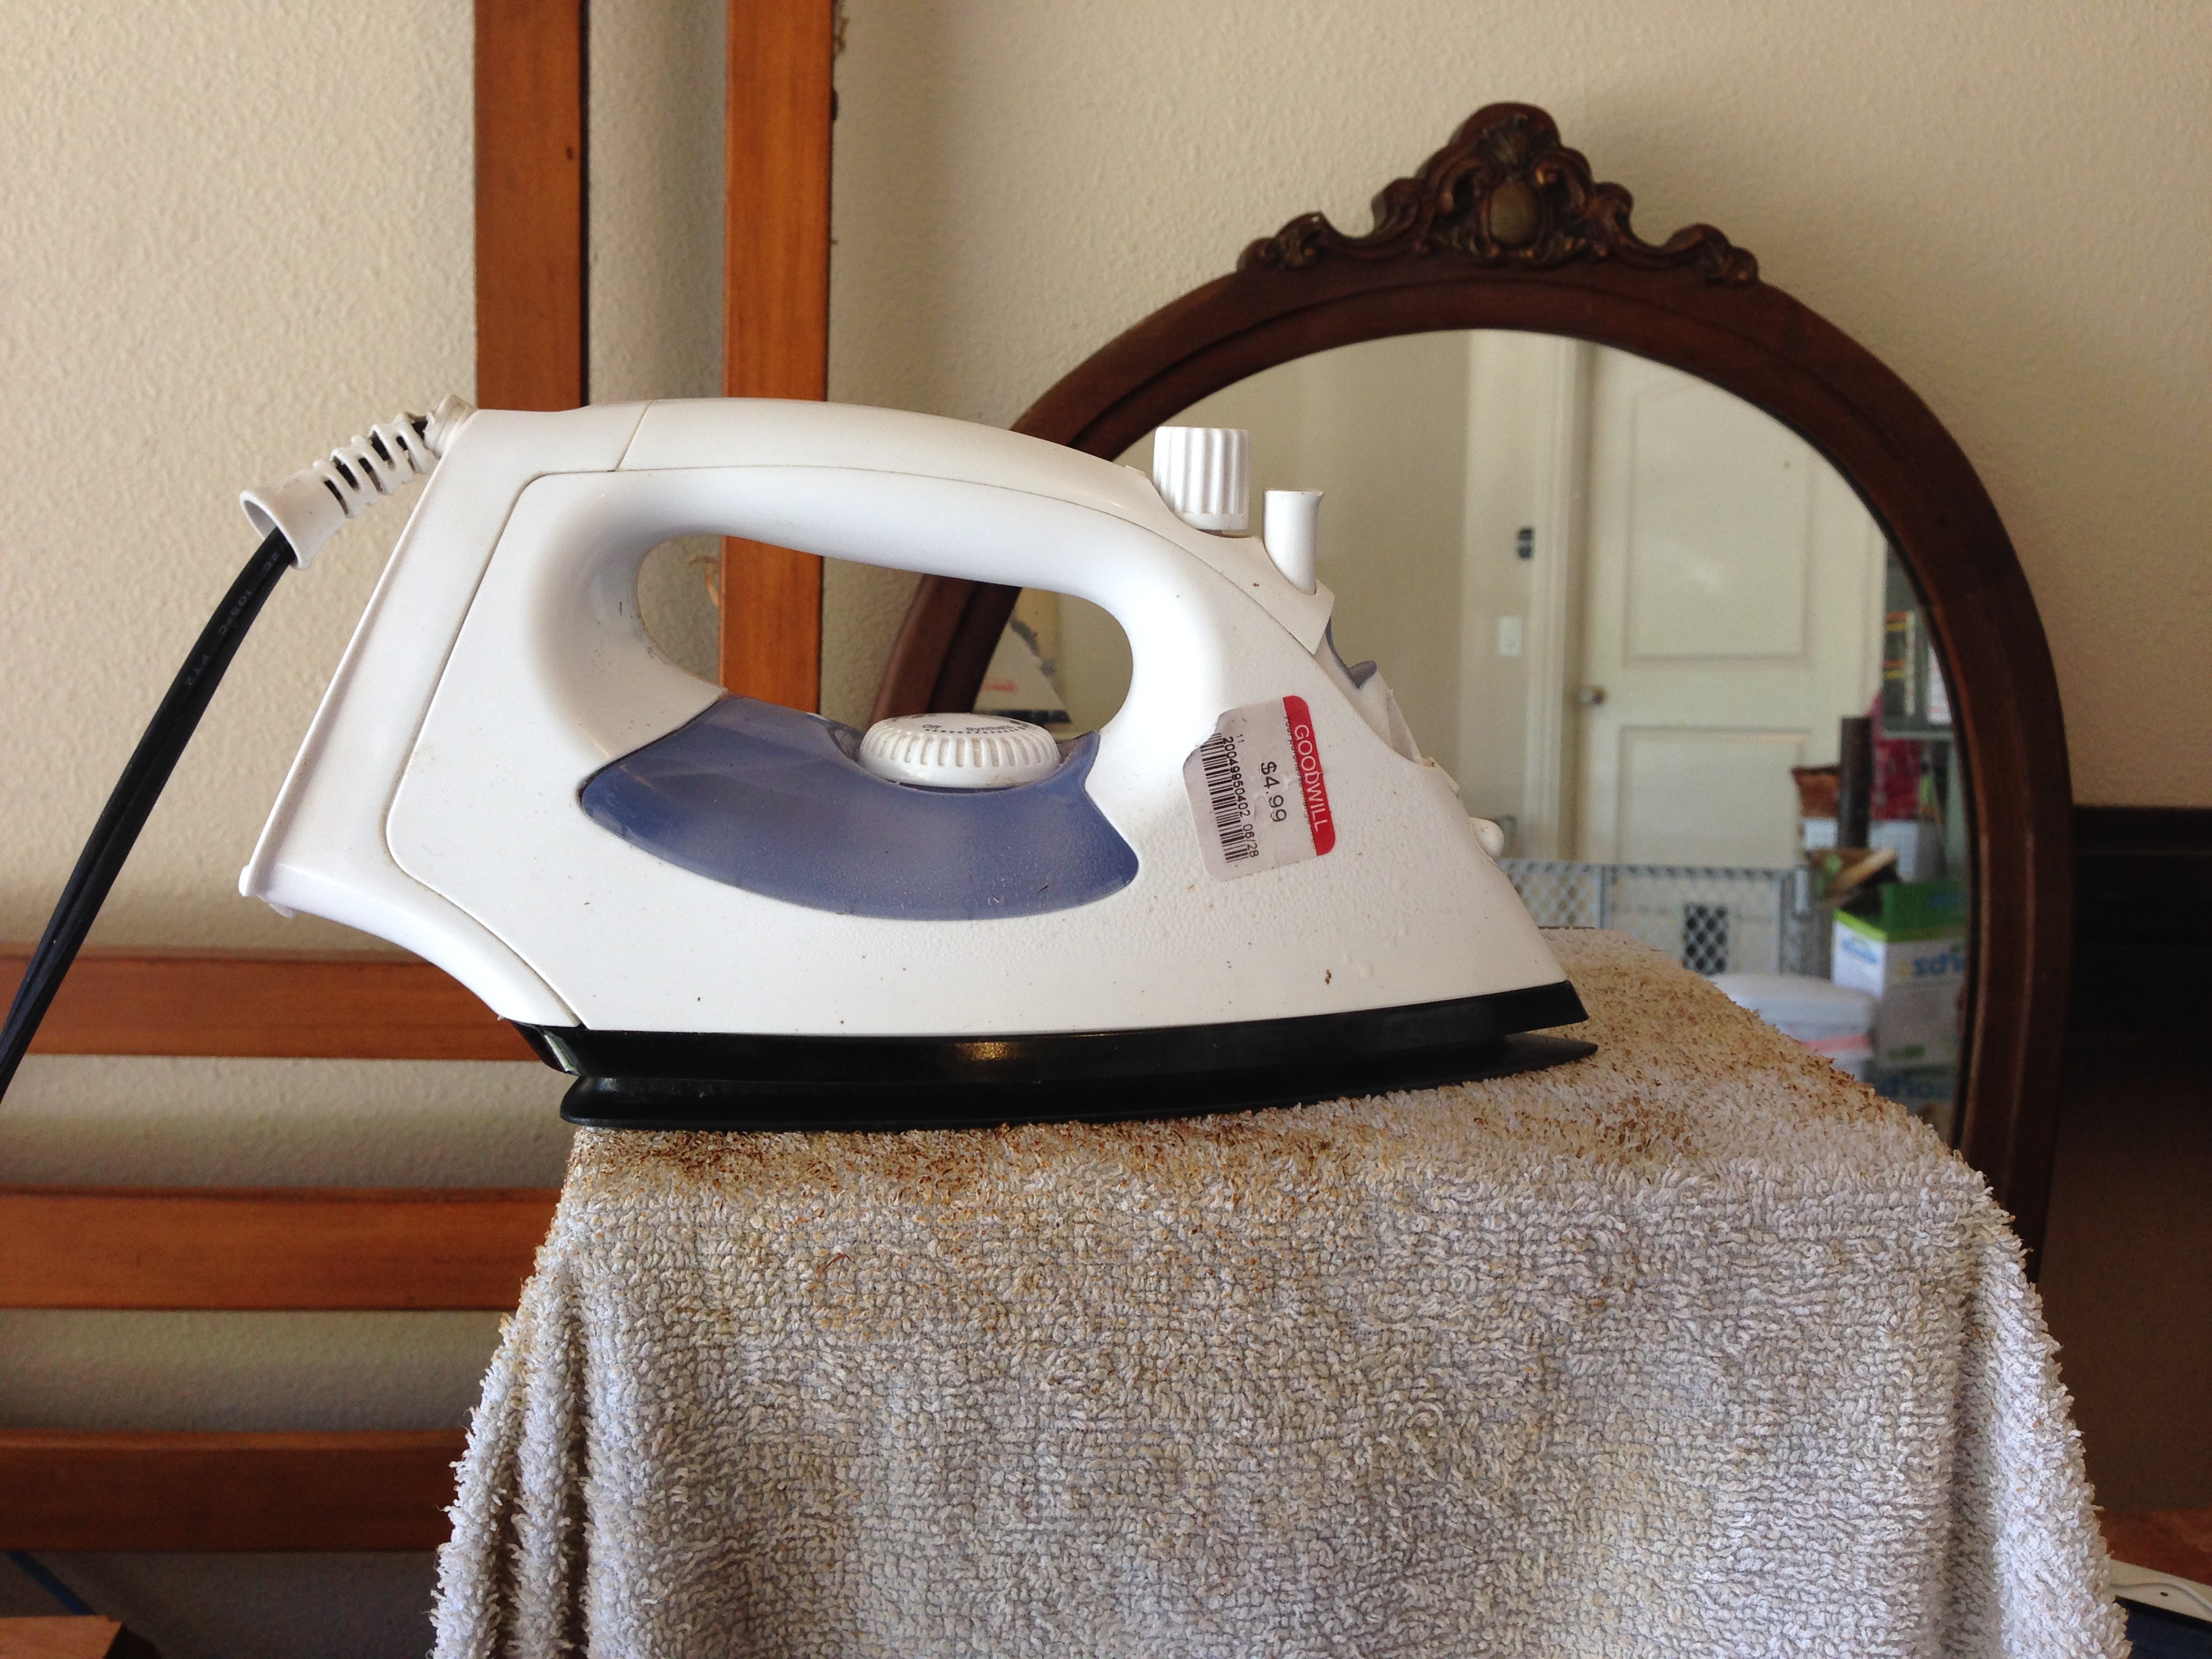
I ventured to our town’s Rockler Woodworking store – I’d never been in, but had always wanted to, to investigate replacing this piece of veneer. I brought in the most severely damaged drawer – its veneer had buckled and curved, but was still attached at both ends, creating a large wave on the drawer front. I assumed I would need to apply a new piece of veneer ($30), which I was pleased to learn they sold, but the friendly gentlemen behind the counter suggested I use a hot iron, a wet towel, and some Hyde Glue ($9) to straighten the wave. So on my merry way I went with a new bottle of glue and a reinforced faith in the goodness of humankind.
A few days later, after purchasing an old iron from GoodWill ($4), I attempted to soften and re-glue the drawer. This was a *major* fail. The repair process was to wet a shop towel to slightly less than dripping, then apply it to the damaged veneer for ‘a bit’. I gave it about 3 minutes. Then I put the hot iron on the towel and let is sit for another minute. When I lifted the iron and towel, the original wave was gone, replaced by new ripples in the veneer perpendicular to the original damage! I thought it was progress, so I repeated the repair steps, but when I removed the iron a second time, the ripples were still there, but the wood had expanded and cracked, and now overlapped in one section. Instead of repairing the veneer, I seem to have cooked the veneer past any usability.
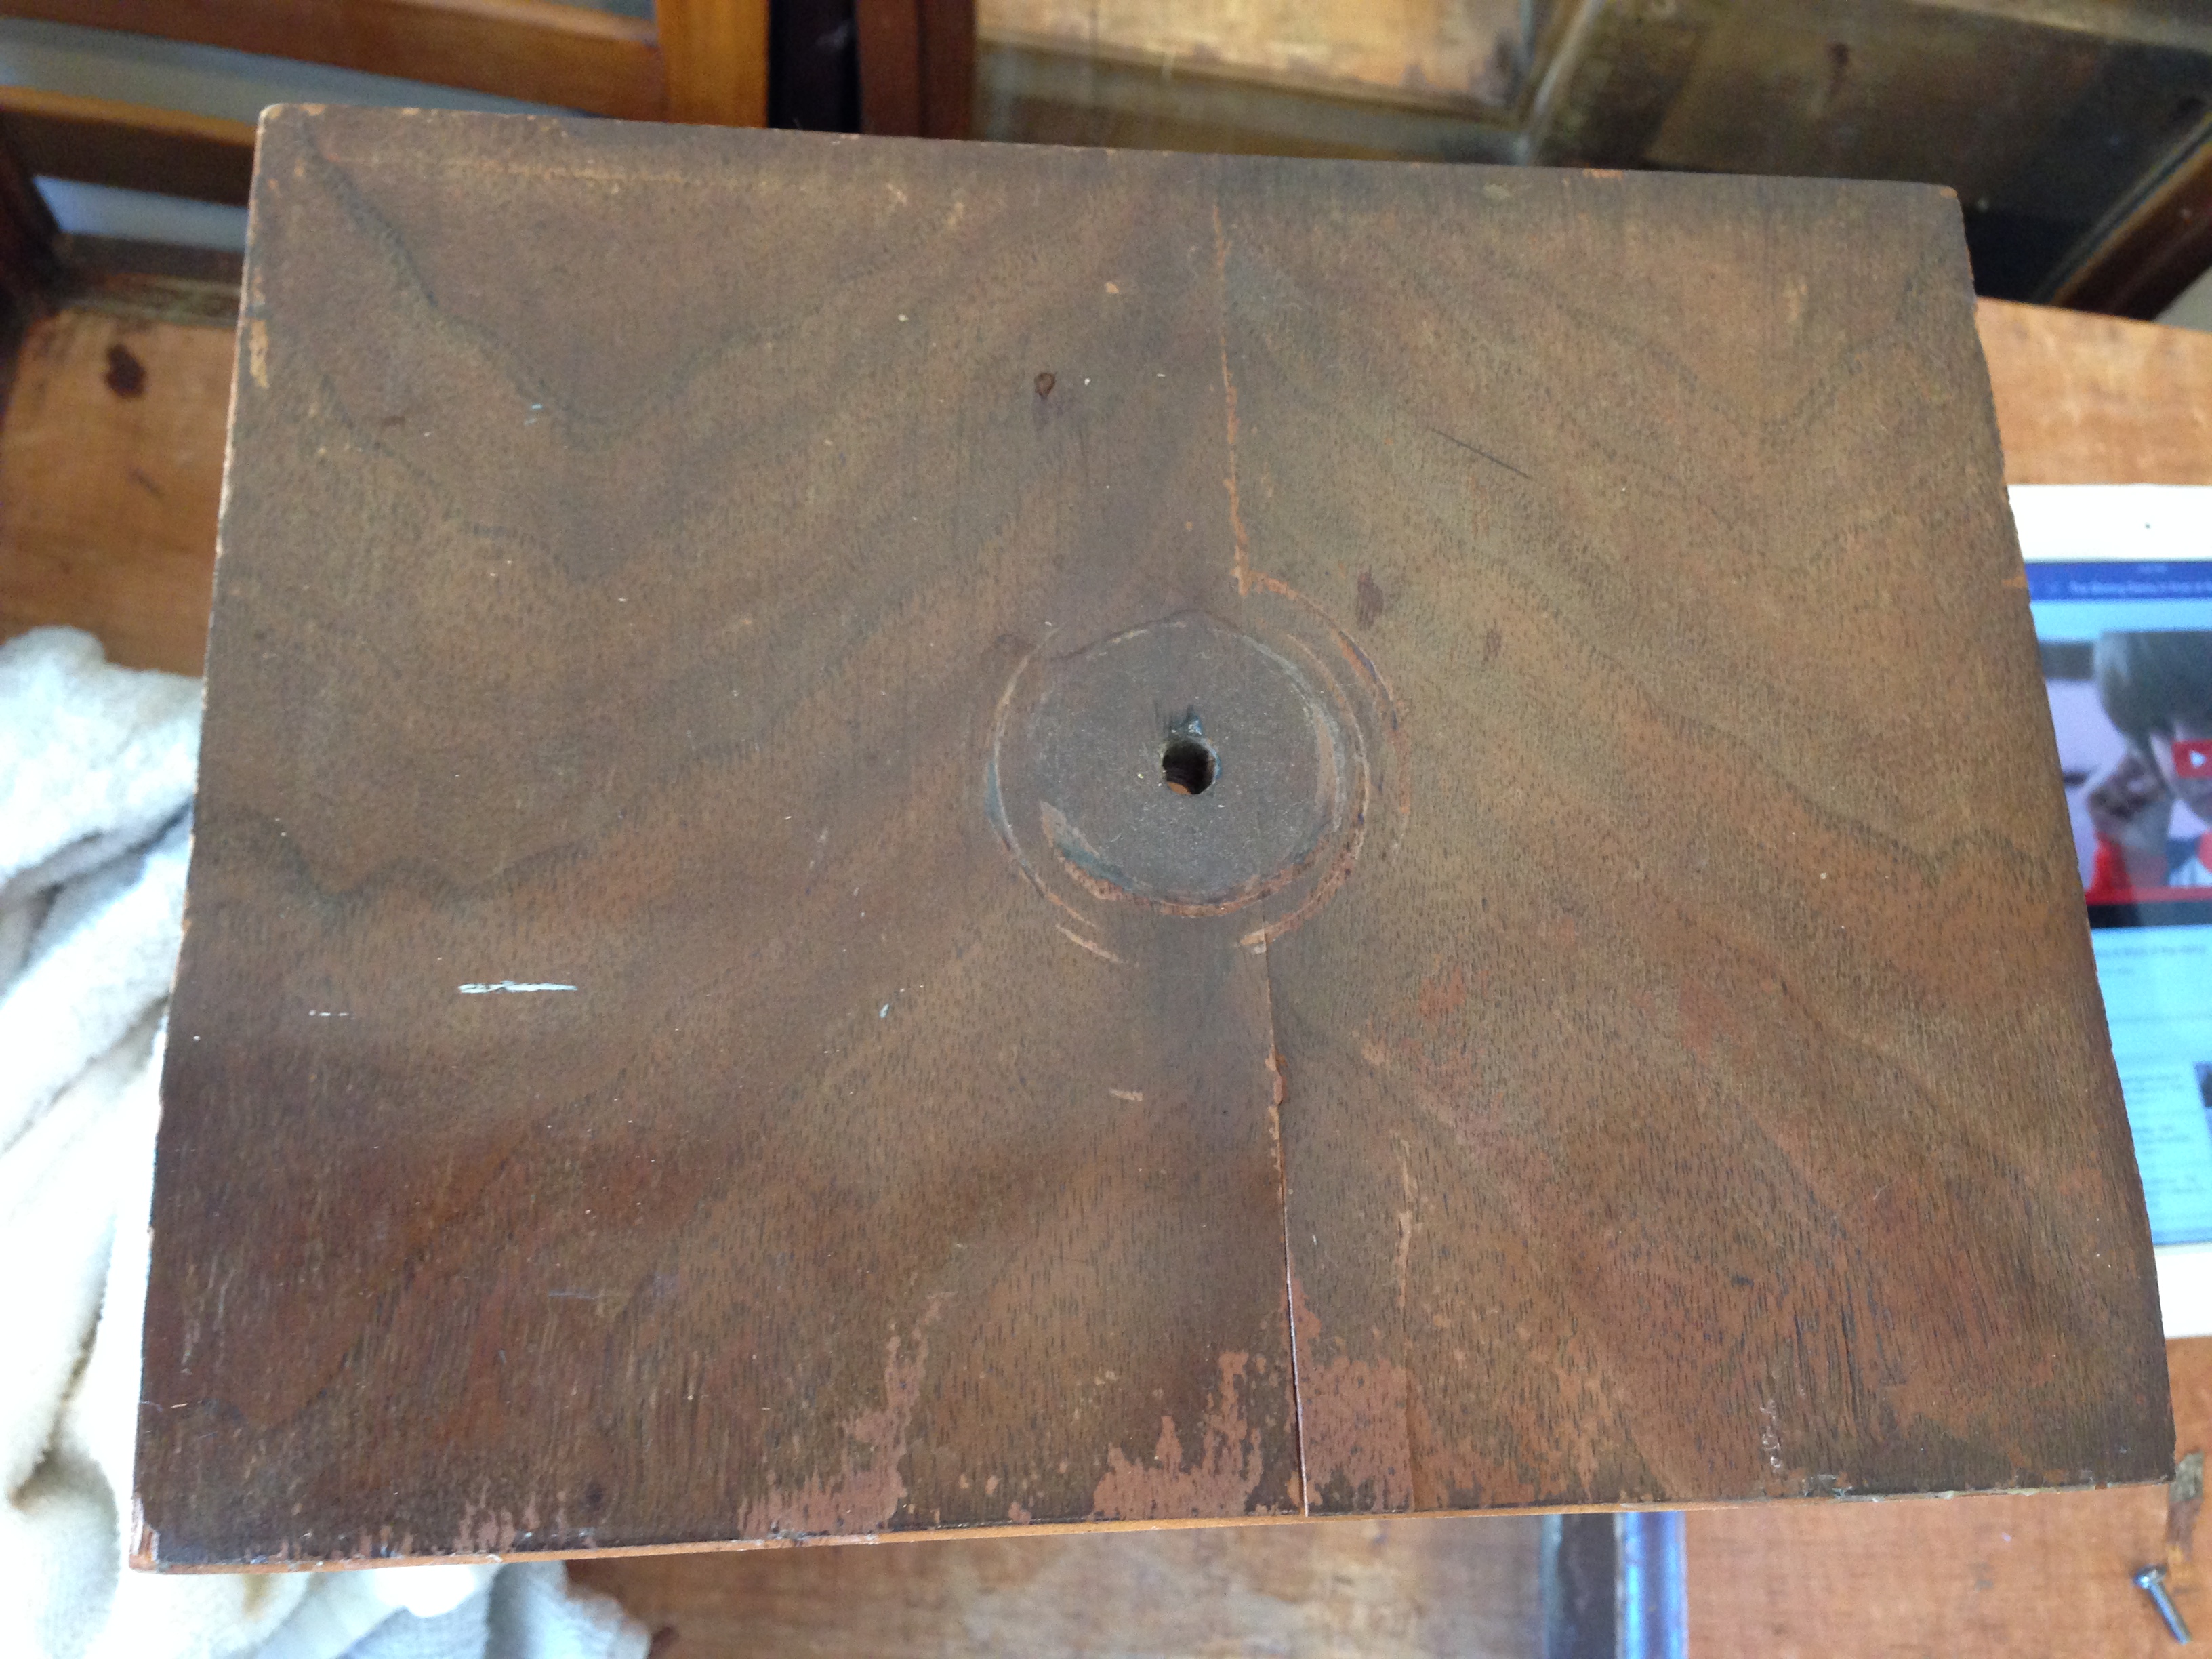
In the meantime, I removed the mirror (that’s the only way it would fit in my car in the first place) Then I removed the damaged veneer from the tops of all three surfaces, knowing that I was going to paint it anyway, and hoping that missing veneer wouldn’t be missed by anyone. My next step, ever one to forge ahead, and not let one disaster stop me, was to remove the veneer from this damaged drawer as well as the other drawers, to ensure a common finish to my end project. At what point was it obvious to you, dear reader, that I am figuring this stuff out (or not) as I go along?

In addition to the above, I’ve purchased an old, but too large replacement caster ($5), and a brand new gallon of white primer ($23) which I returned to the store (-$23) and traded for a gallon of grey primer ($23) in case I do want to chalk paint and distress this thing – that way grey will show through after finish sanding, not white! I’ve turned the cabinet over, and I am ready to remove the wax drippings from the legs, and to soften any wood gouges with sandpaper.
Here’s hoping I can get to priming by the beginning of next week. Stay tuned!

Leave a comment